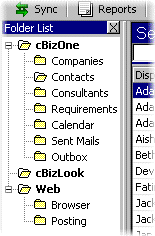
Create/Modify a Company:
- Click Companies folder in Folder
List, to display Companies list.
- To create a Company:
- On the File menu, click New...
- To modify a Company:
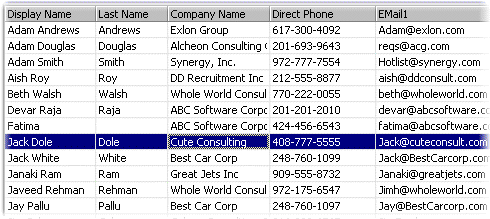
- Double click on a Company in List
View to show the Company
Window. (You can also open by clicking Open
on the File menu)
- Enter/Modify all the desired fields or by using
the default LookUp Values.
- Click on Save and Close
button on the toolbar in the Company Window.
Automatically saves and closes the window.
Most of the Company fields are self-explanatory.
The following fields need some description.
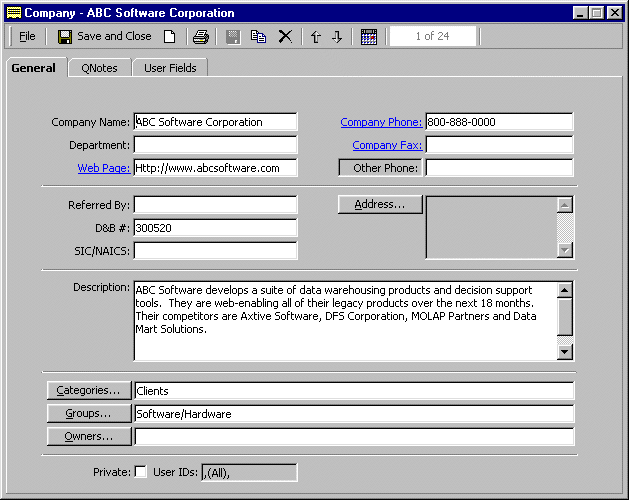
General Tab:
- Phone Number fields: These are smart fields.
You can enter the phone number (10 digits) without
any spaces or dashes. For example, you can enter
8005551212 x12. For entering country code (outside
US, Canada), start with a plus (+) sign. You
can click on the Lookup button on the phone number
field to see how the application decoded your input.
Also by clicking on the Phone link you can
dial automatically, if you configure your computer
with the Phone system.
- Categories Button: You can assign multiple
categories for each Company. Click on the Categories
button and check the desired categories. For
example, you can assign "Vendor, Prime Vendor,
SAP Vendor" to a contact.
- Groups Button: You can assign multiple Groups
for each Company. Unlike categories, this allows
you to 'profile' Company based on non-professional
classification.
- Owners Button: You can assign one or more
'Owners' for each Company. Owner is the person
who will be interacting with this Company.
QNotes Tab:
- Archived Box: Check this field to Archive
the Company.
User Fields Tab:
- Ten fields are provided for you to add additional
data. You can customize the user fields by using
the Database Designer.
|
|
|


